Installation
How to Hang Acoustic Panels: Temporary vs. Permanent Installation
At Soundbox Depot, we believe installing your acoustic panels should be as straightforward as possible. Whether you’re a renter needing temporary solutions or a studio owner looking for a long-term setup, we’ve got you covered. Below, you’ll find clear instructions for both temporary and permanent installation methods.
Temporary Installation Solutions
Perfect for renters or anyone who wants to adjust or remove panels without damaging walls.
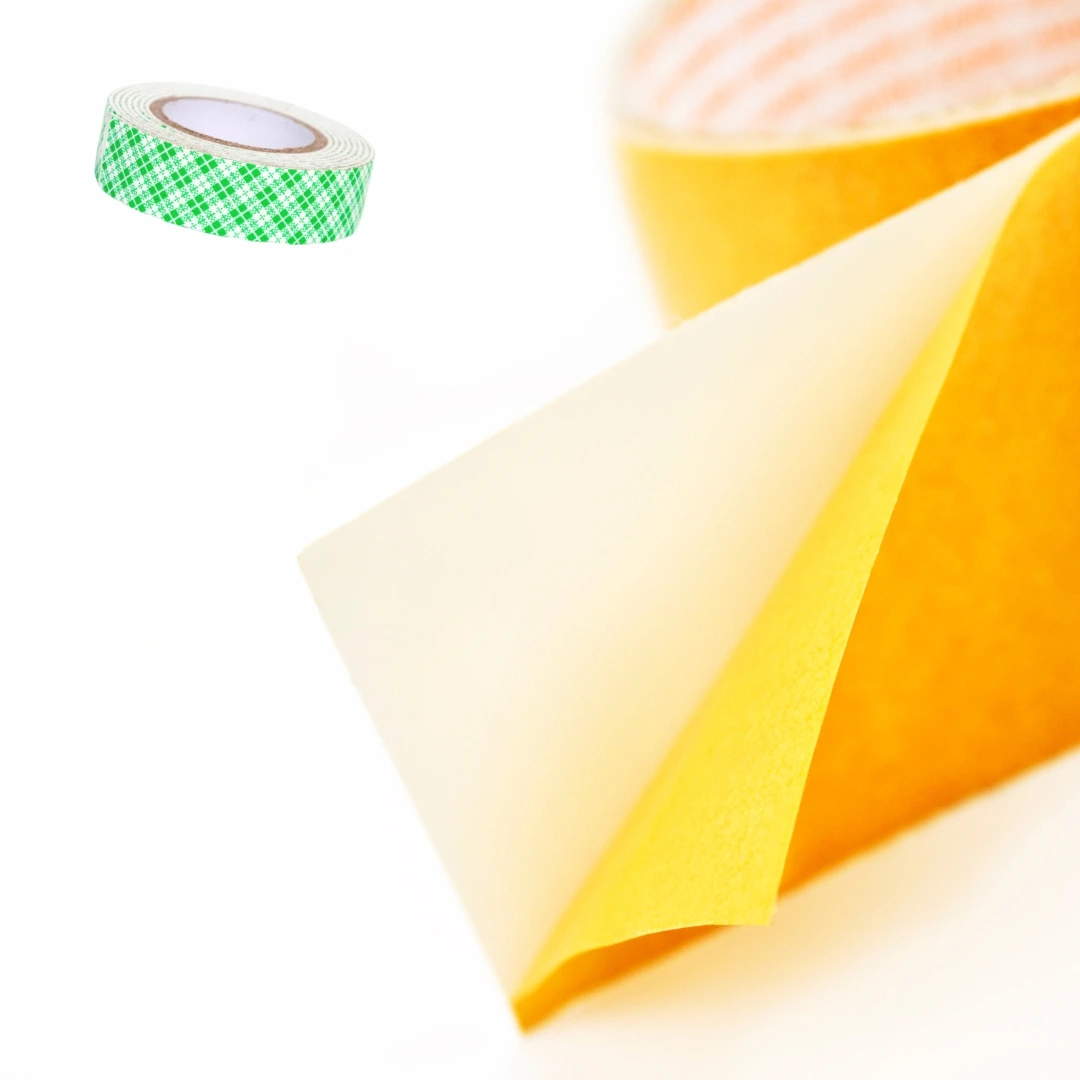
1. Adhesive Squares or Double-Sided Tape
Ideal For: Lightweight panels and renters seeking an easy, damage-free solution.
Steps:
Clean your wall surface with isopropyl alcohol to ensure a solid bond.
Apply adhesive squares or double-sided tape to the back corners of your panel.
- For larger panels, place additional adhesive in the center for extra stability.
Peel off the adhesive backing and align the panel with your wall markings.
Press firmly for at least 30 seconds to ensure a secure attachment.
Pros: Easy to apply, minimal risk to walls.
Cons: May not support heavier panels or bass traps.
2. Command Strips
Ideal For: Lightweight panels and renters who want an adjustable, damage-free setup.
Steps:
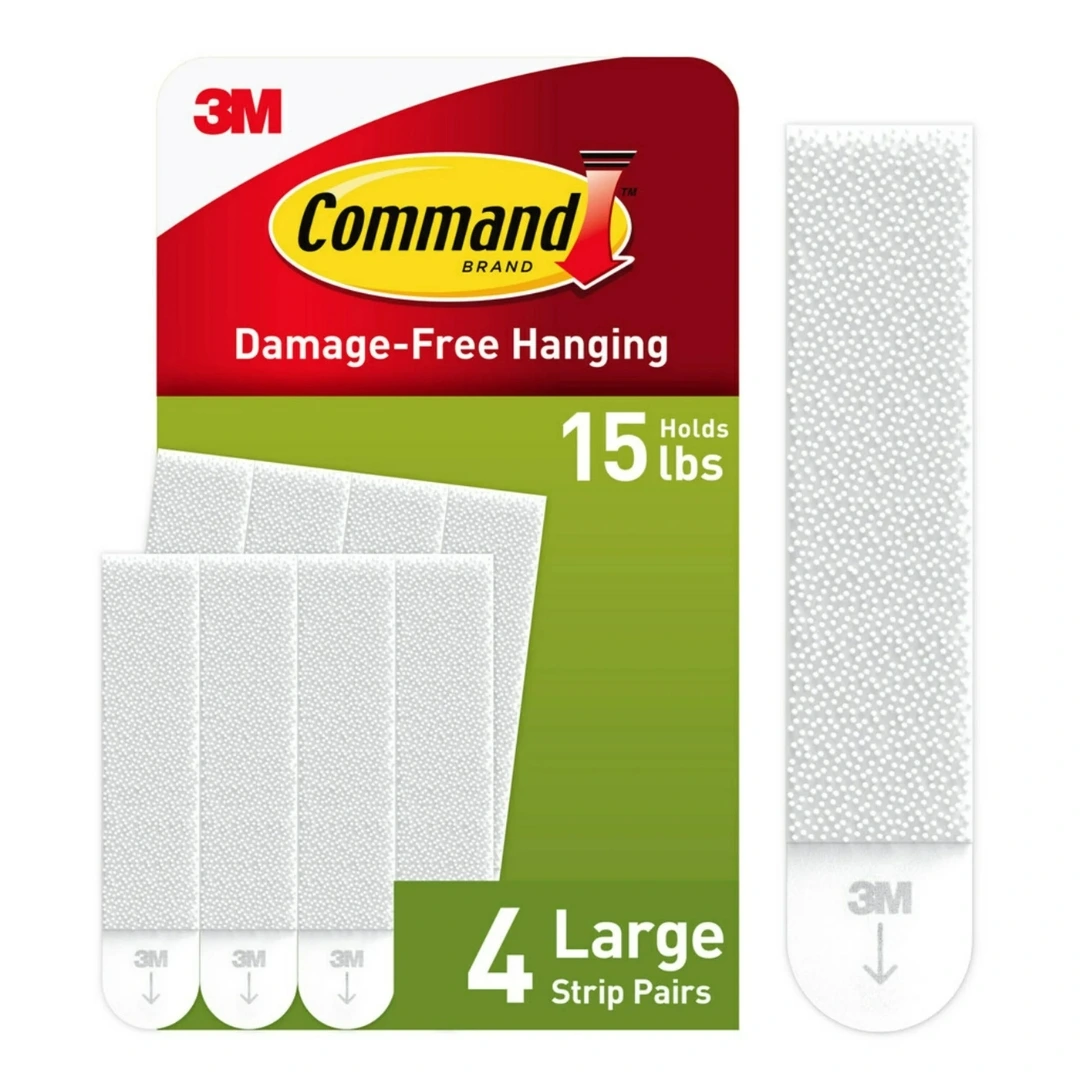
Apply command strips to the back of the foam panel. Use multiple strips for larger panels.
Press the panel firmly against the wall for 30 seconds to ensure adhesion.
To remove, pull the command strip’s tab downward slowly to avoid residue or wall damage.
Pros: Clean and adjustable; great for temporary setups.
Cons: Not suitable for heavier panels or uneven surfaces.
3. Pins or Tacks
Ideal For: Ultra-light foam panels and quick adjustments.
Steps:
Position the foam panel where you want to mount it.
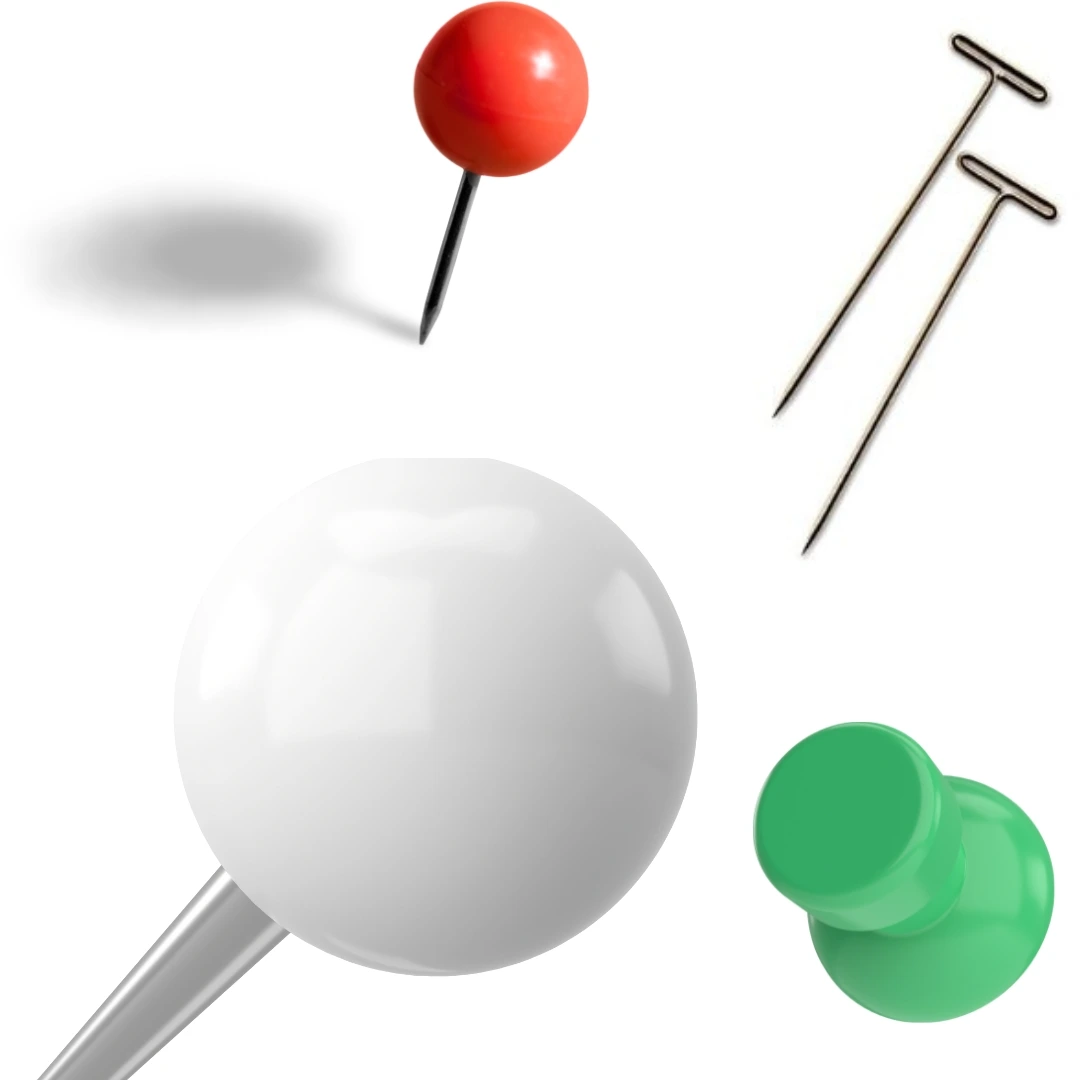
Secure each corner with long pins or tacks, inserting them at an angle for a firmer hold.
Adjust as needed without worrying about wall damage.
Pros: Quick and adjustable; works well on textured walls.
Cons: Limited to lightweight panels.
Permanent Installation Solutions
Best for long-term setups where durability and stability are the top priorities.
4. Spray Adhesive
Ideal For: Smooth surfaces like drywall, providing a strong, lasting bond.
Steps:
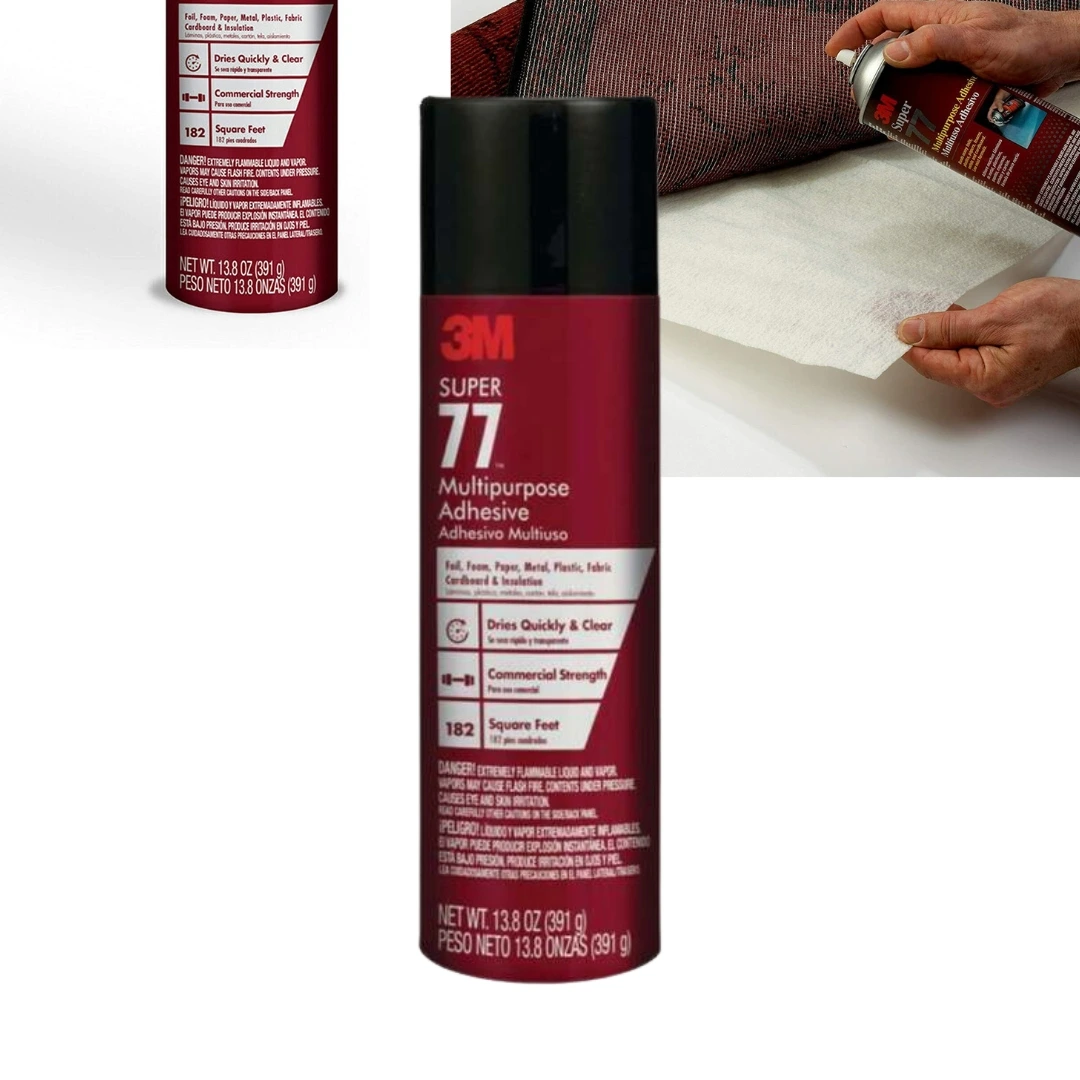
Clean the wall and the back of the foam panel with isopropyl alcohol to ensure the adhesive sticks properly.
Shake the adhesive can thoroughly.
Spray an even layer of adhesive on both the back of the panel and the wall area.
Wait 5–10 seconds for the adhesive to become tacky.
Press the foam panel firmly against the wall and hold for 15 seconds.
Pros: Strong and secure; great for high-traffic areas or heavy panels.
Cons: Difficult to remove; may damage walls during removal.
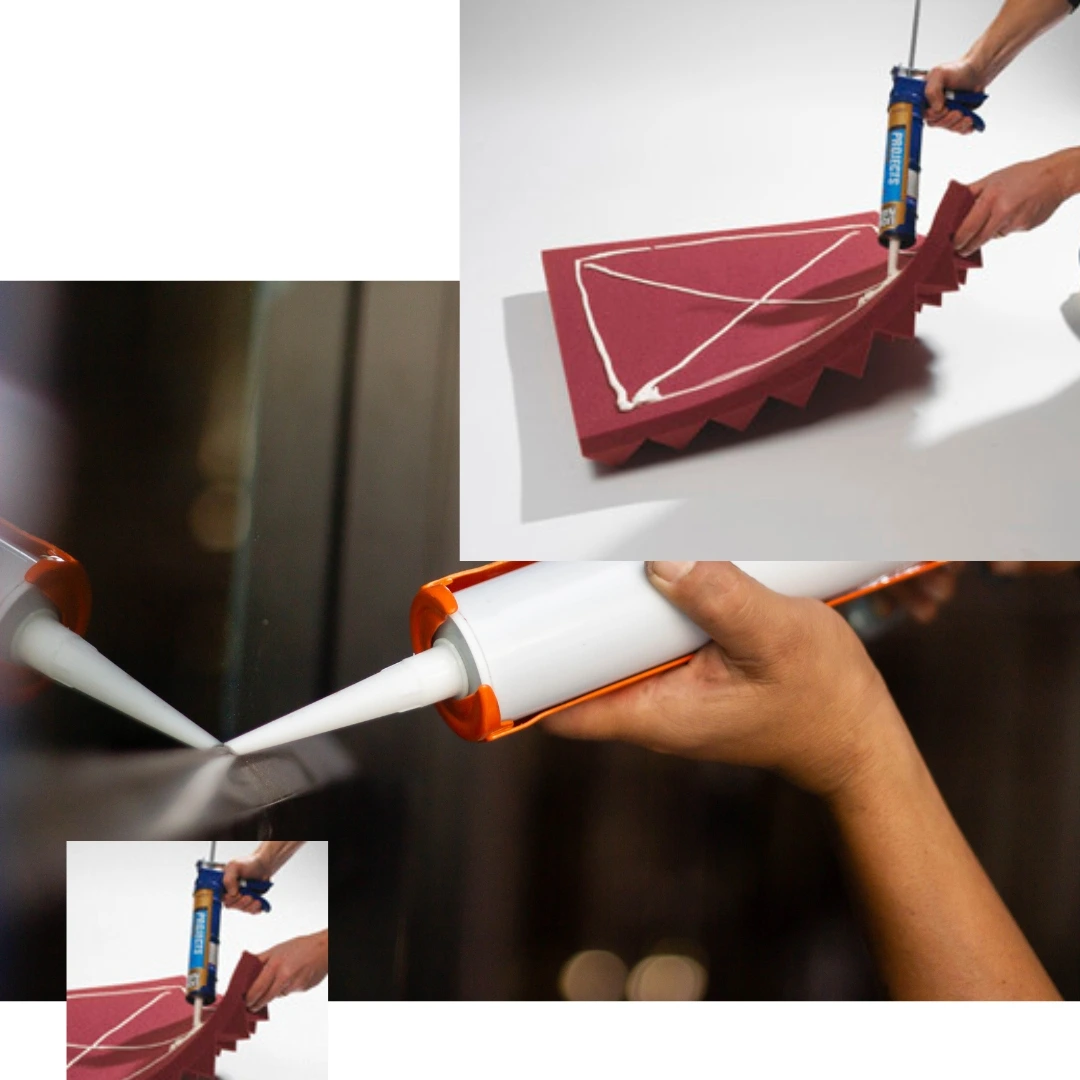
5. Construction Adhesive or Foam-Safe Glue
Ideal For: Long-term installations, especially for heavier panels or bass traps.
Steps:
Apply a small amount of construction adhesive or foam-safe glue to the back of the foam panel.
- Use a zigzag pattern for even distribution.
Press the panel firmly against the wall and hold it for 30 seconds.
Allow the adhesive to cure for 24–48 hours before testing.
Pros: Extremely durable; supports heavier acoustic treatments.
Cons: Permanent; removal will likely cause wall damage.
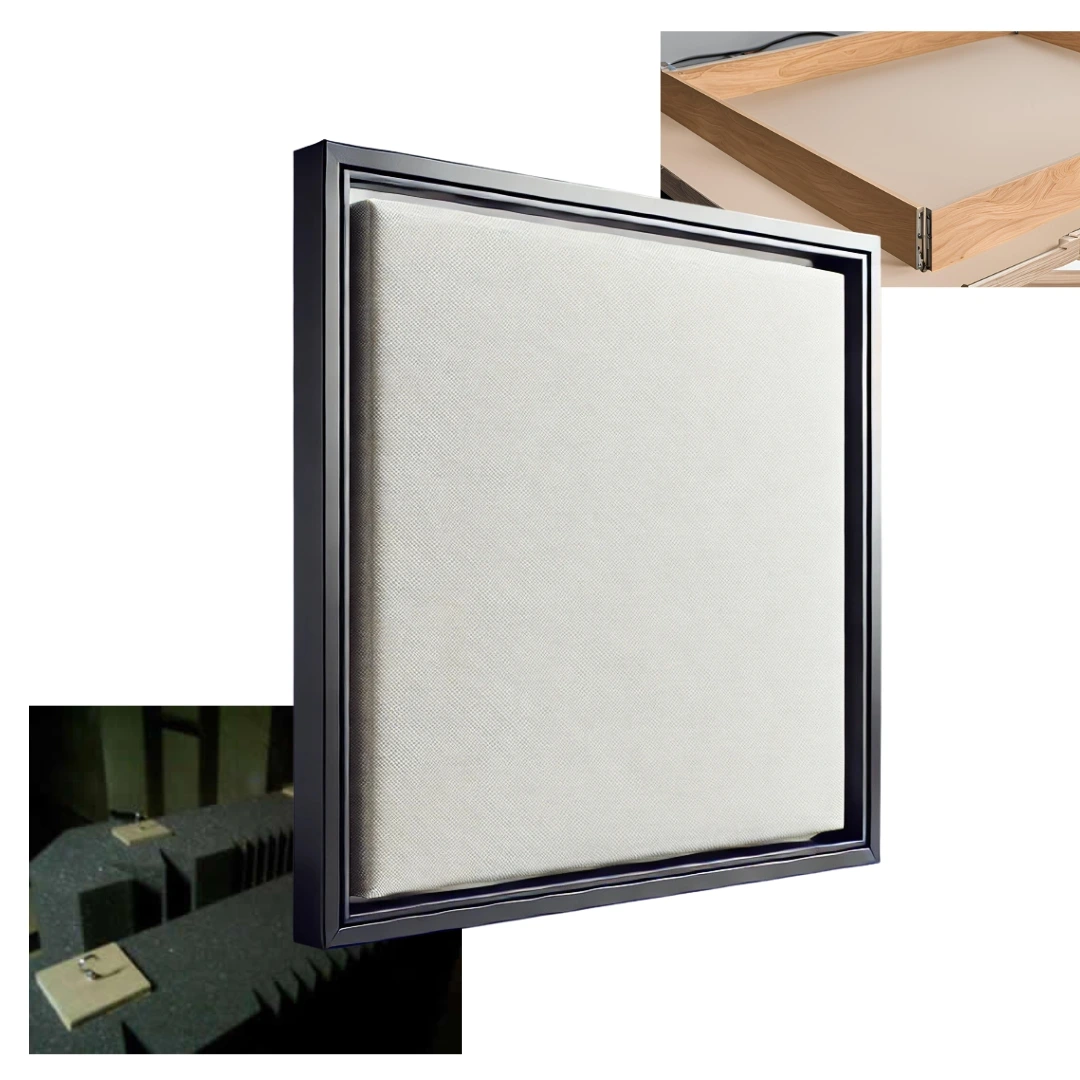
6. Bracket or Frame Mounting
Ideal For: Bass traps or large, heavy panels.
Steps:
Install wall brackets or hooks at the desired height.
Attach the foam panel to a lightweight wooden frame or mount it directly onto the brackets.
Ensure the panel is level and securely fastened.
Pros: Strong and reliable; suitable for corners and uneven walls.
Cons: Requires tools and may leave screw holes in walls.
Which Option Is Right for You?
| Criteria | Temporary | Permanent |
|---|---|---|
| Ease of Setup | Adhesive squares, Command strips, Pins/Tacks | Spray adhesive, Construction glue, Brackets |
| Wall Impact | Minimal (damage-free options) | Potential damage during removal |
| Durability | Ideal for lightweight panels | Suitable for heavy panels and long-term setups |
Need Help?
For questions about installation or specific product inquiries, contact our support team through the following:
Live Chat:
Mon-Fri 8AM-6PM Central Time
Sat 9AM-6PM Central Time
Email: [email protected]
We’re here to make your Soundbox Depot experience seamless from checkout to delivery.
Contact us
Please only submit one request.
Submitting multiple requests via the form, phone, voicemail, email, or chat will only slow our response rate down.
Effective / Eco-Friendly / Flame Resistant
Sign up for our newsletter
Receive product updates, special offers, ergo tips, and inspiration from our team.
We're Always Here For You
Let us know if you have any questions or reach out to chat with us!
Copyright © 2025 Soundbox Depot, LLC - All Rights Reserved.

